Sunday 28 December 2014
Monday 15 December 2014
The Hay Shed
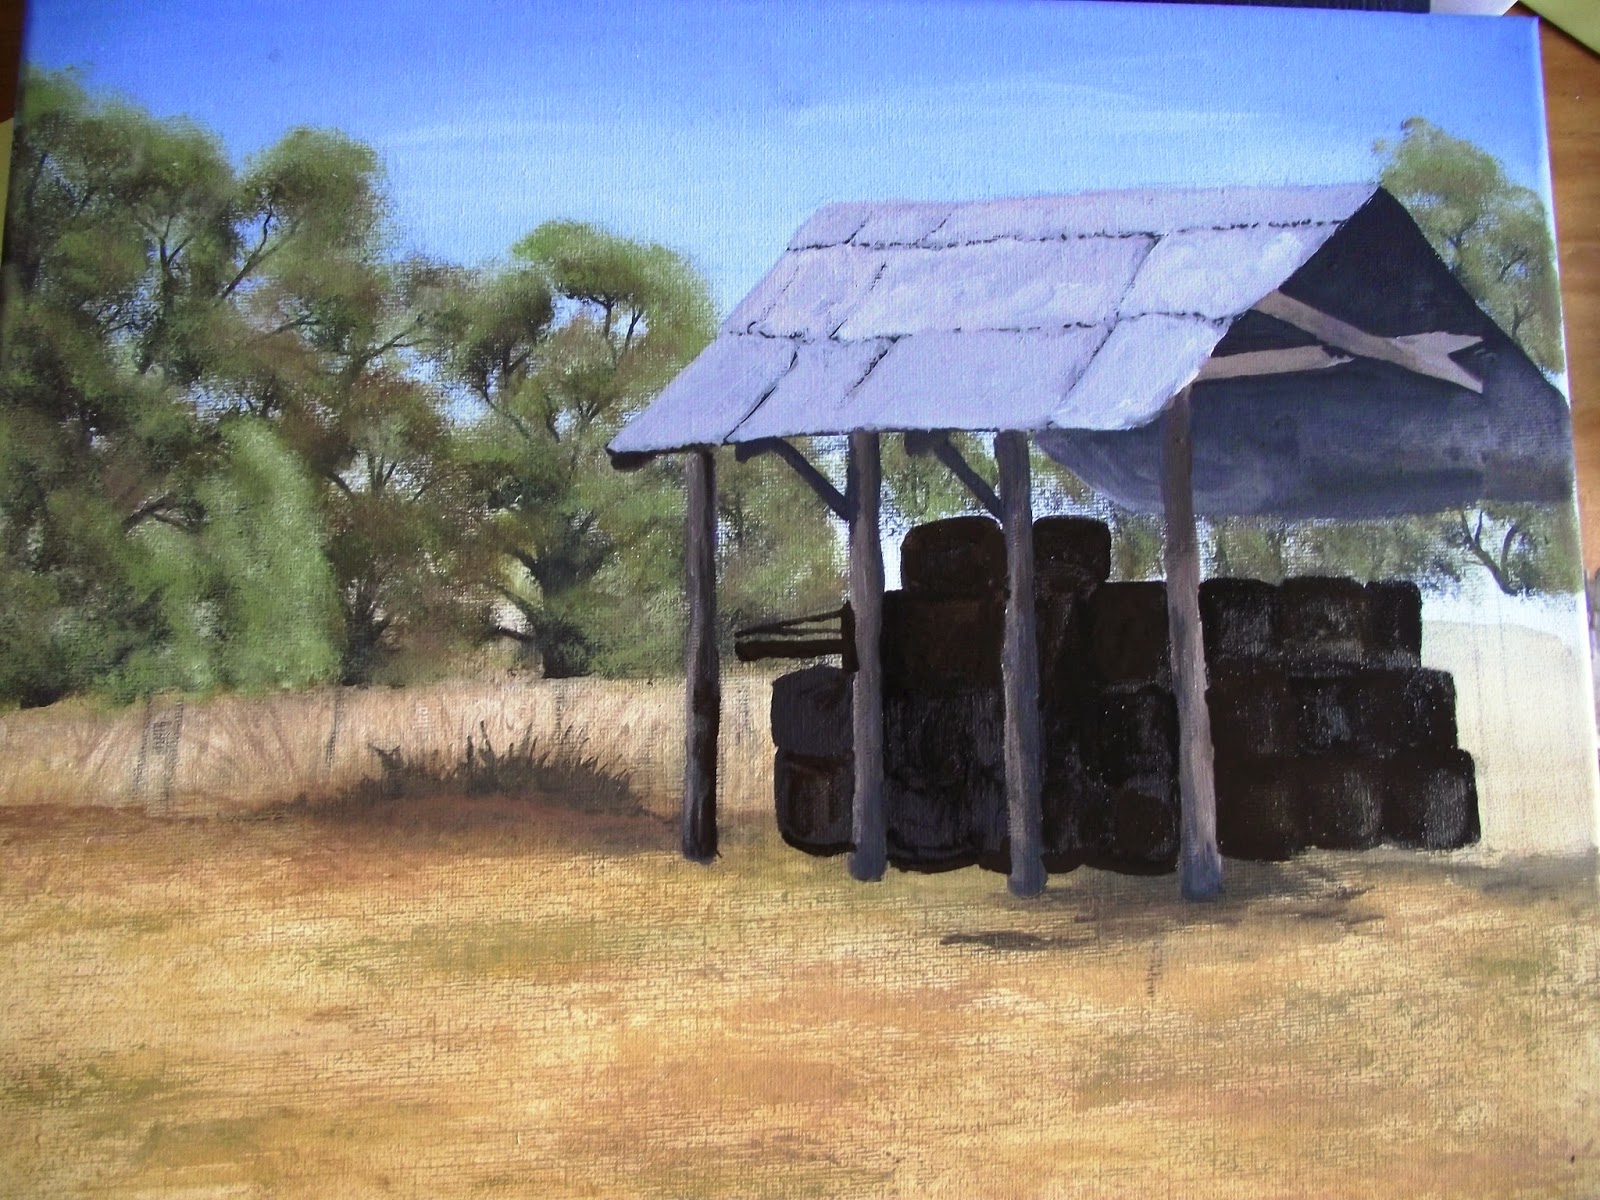
This is a step by step painting of our hay shed.
First, I roughly drew the details of the picture onto the canvas with a pencil. Then I traced what I'd drawn with some tracing paper (I actually used baking paper) and kept that for reapplying the detail with later, after I'd painted the background.
I'm just using Acrylic paints and whatever brushes seemed logical at the time.
Here you can see what I mean by reapplying the detail. I simply used the baking paper with the traced drawing on it.
I think I used a fan brush here for giving the effect of the fluffy ends of the native Bamboo grass.
For the leaves I used a sponge because my old faithful "leaf" brush died.
If you squint your eyes and have a great imagination it kind of looks like the original. :)
God bless,
Little Wren xxx
Rose - Pencil
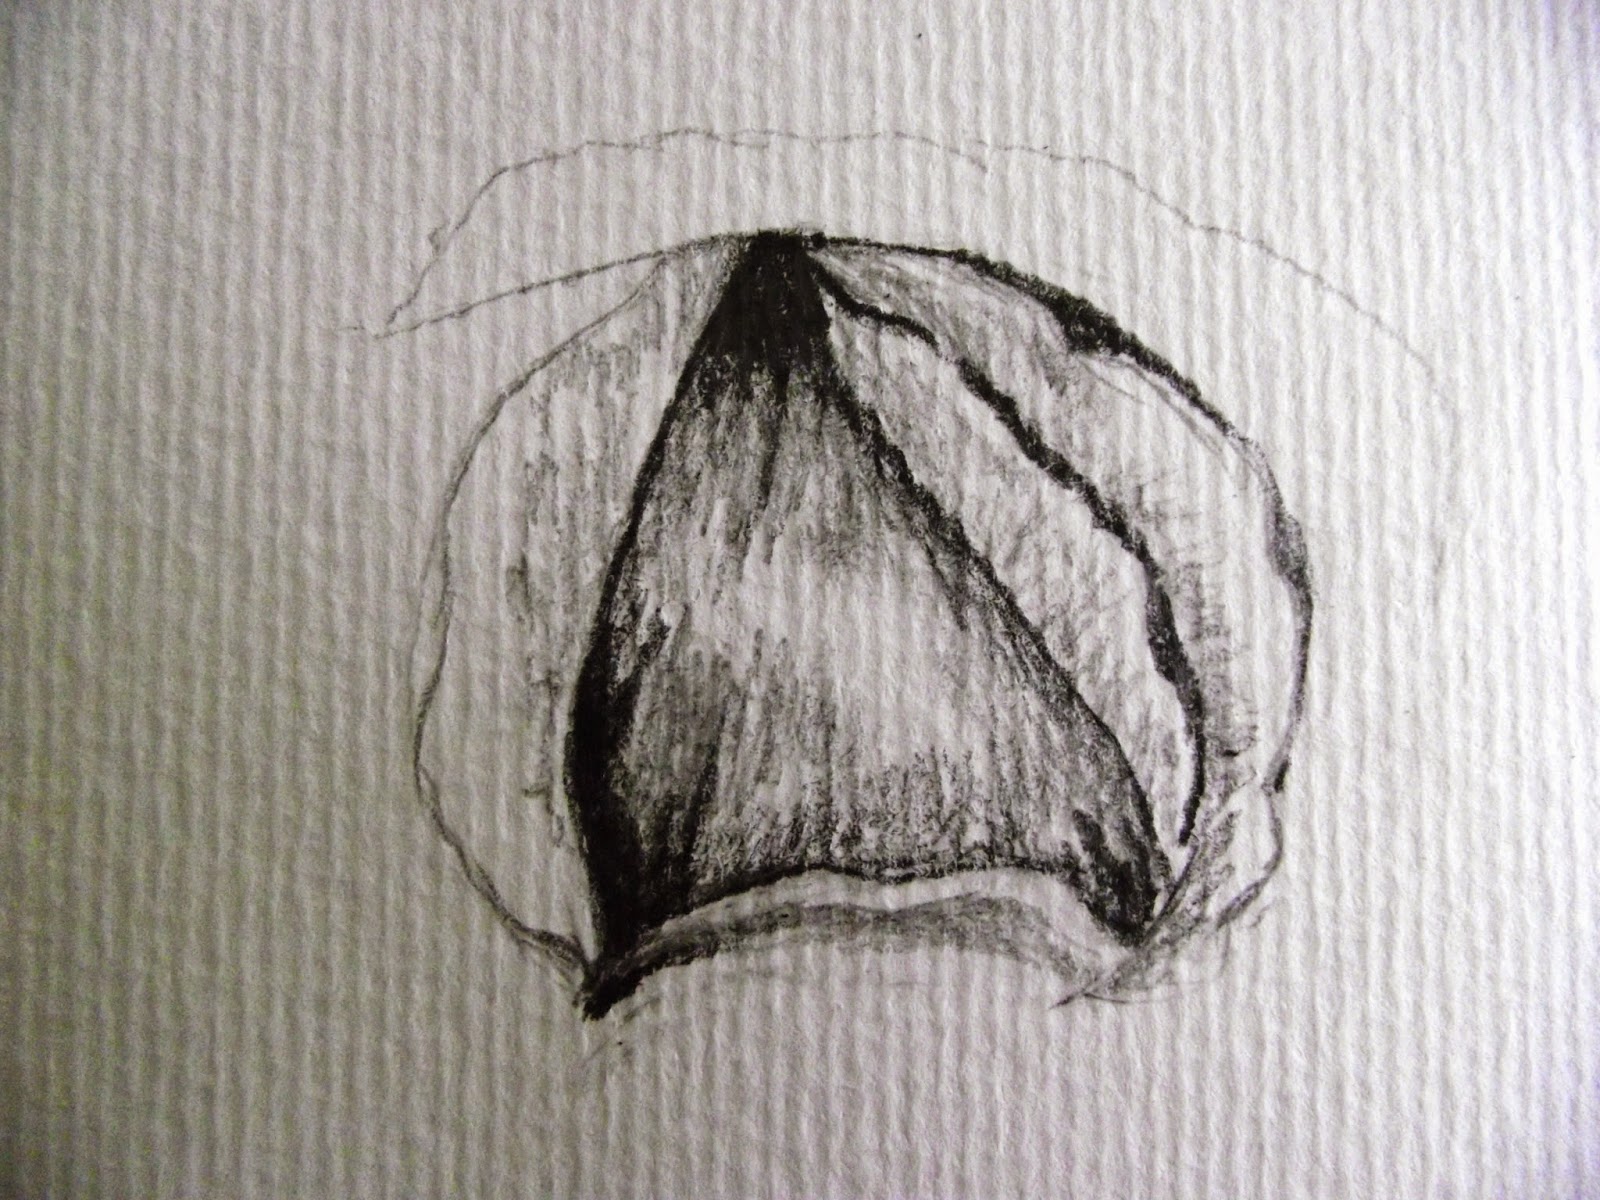
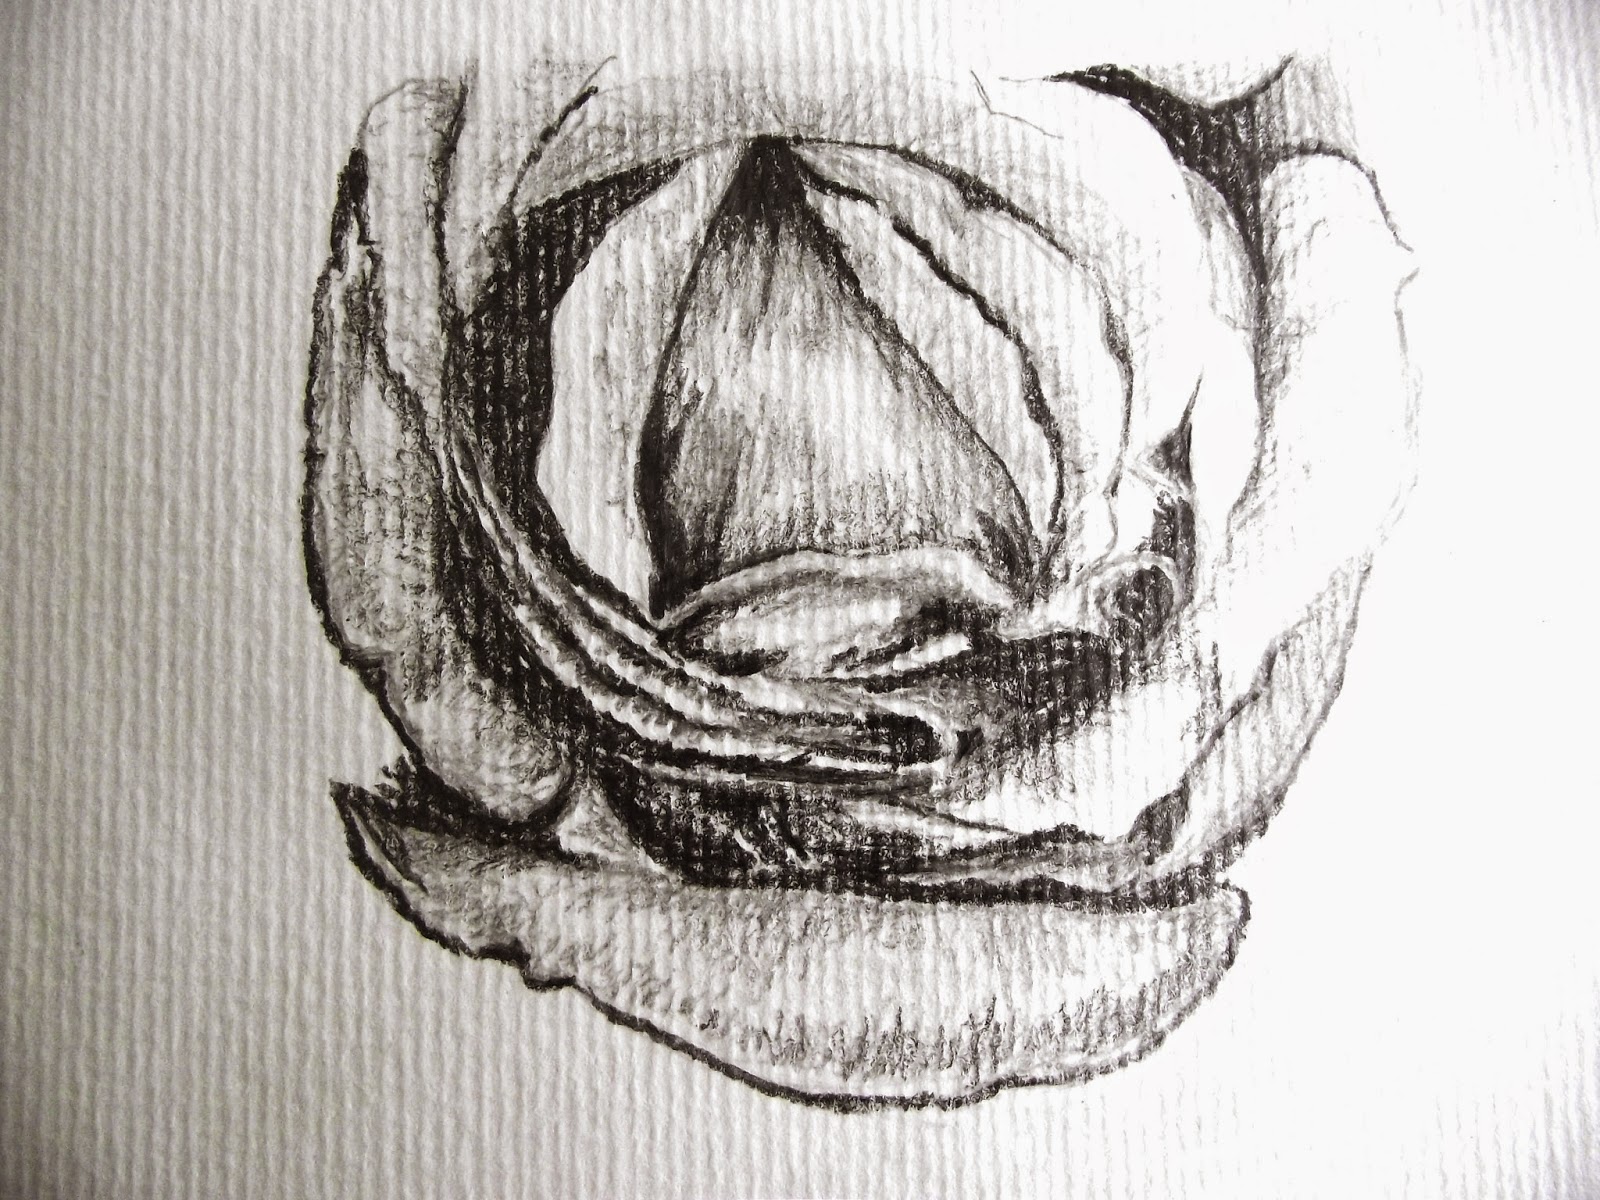
Step by step drawing of a rose. I drew this from a black and white photo I found on the internet.
Sorry, the lighting in my room changed at this point and the colours have gone a little funny.
Little Wren xxx
Thursday 18 September 2014
Friday 28 March 2014
A Touch of Elegance
This cake is perfect for the loved one in your life that adores a touch of elegance. A rustic bouquet of 'You are lovely' Gardenia's and lazily drooping pearls creates a feeling of 'shabby chic' to this otherwise formal cake.
When my partner in crime and I were asked to make this cake, we loved how beautiful it was and simply couldn't say no...
We were asked to make it a pastel rainbow cake. As this was our first I found the recipe on the internet and loved the results. The cakes were fairly moist and very easy to make. The link to the recipe we used can be found here.
We cut the cakes to ensure all were even in size and layered them with buttercream. Yum, yum!
Once the cake was completely covered with buttercream and as smooth as possible, it was placed in the fridge to set.
After colouring and kneading the fondant for an age, working quickly, we rolled the fondant out. It's important to work quickly at this stage to make sure you don't waste all your hard kneading. My Grandma always says, "Knead the fondant till you think you've done enough, then do it again." I can't stress enough how important it is to knead your fondant REALLY well! Also, note to self, never try to use old fondant. We tried to use some that was left over from our last cake, but the air had done its thing and when we put it on the cake it cracked and stretched and was horrid. After a quick trip to town for new fondant our second attempt looked much better.
It was all hands on deck to carefully place the rolled out fondant over the cake and then the smoothing process began. Plastic 'smoothers' for want of a better name were used, however the best fondant 'smoothers' around are warm hands and patience.
The plaque is just white fondant and the template was drawn by hand. Using a tooth pick, little dots were made as a guide for piping the '80' and small holes to represent the pearls. These where then pipped on using royal icing.
The flowers we used here bought, fake flowers, but despite this fact they looked really pretty. I left my friend to do the arranging and the result was gorgeous! So fresh and pretty.
We asked the lovely people we sold the cake to to take a picture of the inside for us, and here's what it looked like.
Till next time. God bless,
Little Wren xxx
Subscribe to:
Posts (Atom)


